I did it. I made them. Yep. Sure Did. They were tasty but if I didn't have the patience of a 5 year old kid they could have been better. Oh well. Next time. Right? But maybe you can learn from my experience... needless to say, I'm not a baker but these were pretty easy.
I saw in Fine Cooking that they had posted Joanne Chang's (from
Flour Bakery in Boston) recipe
here... so I knowing there was a snow storm, I was motivated to bake. I've been taking photos with my phone as I've been cooking - it's much faster and easier but I warn you the photos aren't as delicious looking - so the steps photos are from the phone but the final product photos are not.
Here we go.

Oreo Cookies - from Joanne Chang
Recipe from
Fine Cooking
For the cookies - 1 cup (2 sticks/228 grams) unsalted butter, melted and cooled slightly
- 3/4 cup (150 grams) granulated sugar
- 1 tsp. vanilla extract
- 1 cup (200 grams) semisweet chocolate chips, melted and cooled slightly
- 1 egg
- 1-1/2 cups (210 grams) unbleached all-purpose flour
- 3/4 cup (90 grams) Dutch-processed cocoa powder
- 1 tsp. kosher salt
- 1/2 tsp.baking soda
For the vanilla cream filling - 1/2 cup (1 stick) unsalted butter, softened
- 1-2/3 cups confectioners’ sugar
- 1 tsp. vanilla extract
- 1 Tbs. milk
- Pinch of kosher salt

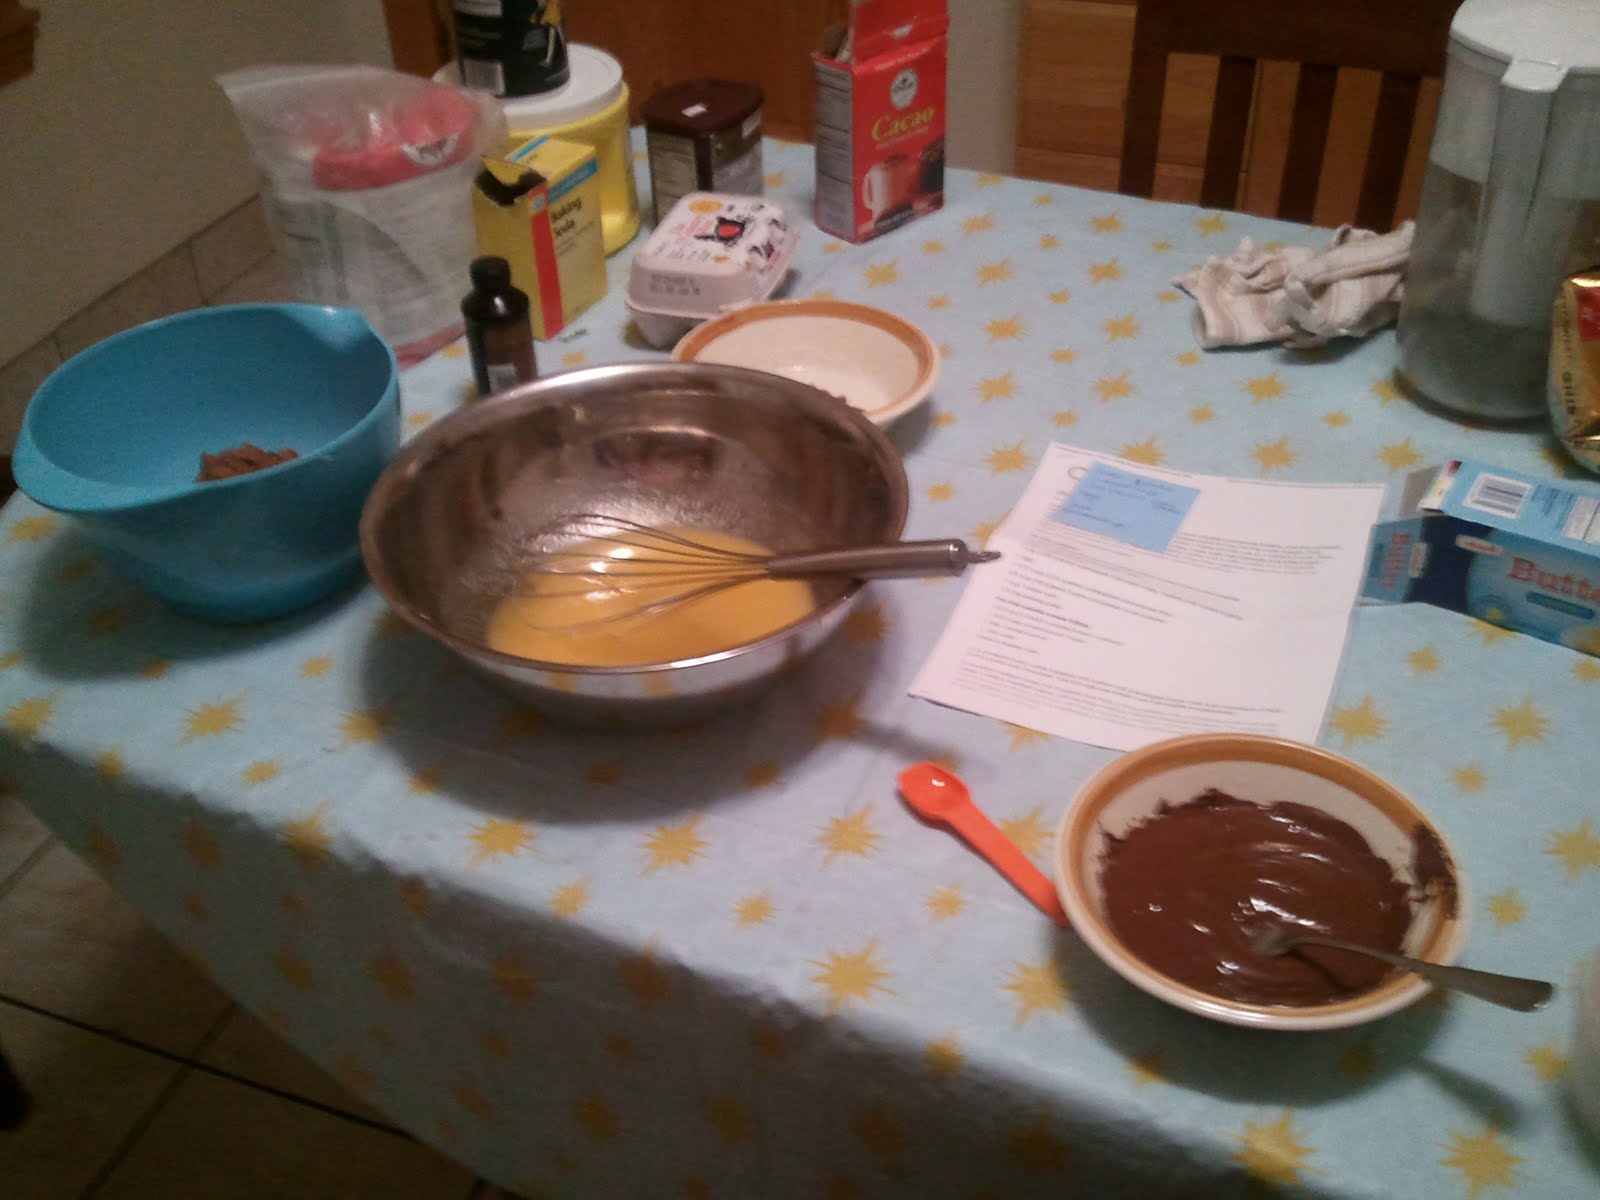
Got all my ingredients ready to go!!!!
In a medium bowl, whisk together the butter and granulated sugar until well combined. Whisk in the vanilla and chocolate. Add the egg and whisk until thoroughly incorporated.
In another medium bowl, stir together the flour, cocoa powder, salt, and baking soda until well mixed.

Using a wooden spoon, stir the flour mixture into the chocolate mixture. The dough will start to seem too floury, and you will find it easiest to switch to mixing it with your hands until it comes together. It will have the consistency of Play-Doh. Let the dough sit at room temperature for about 1 hour to firm up.
YUM... yeah, I stuck my finger there while I was mixing it all together. Wouldn't you? It just looks so tasty!

Transfer the dough to a 15-inch square sheet of parchment or waxed paper. Using your hands, shape the dough into a rough log about 10 inches long and 2-1/2 inches in diameter. Place the log at the edge of the sheet of parchment paper, and roll the parchment around the log. With the log fully encased in parchment, roll it into a smoother log, keeping it at 2-1/2 inches in diameter.
NOTE: I did this but I shorten the time frames and you probably shouldn't do that. The harder the dough is (or colder) the easier it is to work with. I promise. When I make these again, I'm going to make a smaller log - thinner - so the cookies are smaller as well. More cookie to frosting ratio that way. :-)
Refrigerate for at least 2 hours, or until firm. The log may settle and sink a bit in the fridge, so reroll it every 15 minutes or so to maintain a nice round log, if you like. If not, your cookies will be more oblong than round, which is not a bad thing taste-wise, though they won’t look like the famous packaged cookie. (At this point, the dough log can be well wrapped in plastic wrap and stored in the refrigerator for up to 1 week or in the freezer for up to 1 month. If the dough is frozen, thaw overnight in the refrigerator before proceeding.)

Position a rack in the center of the oven, and heat the oven to 325°F. Line a baking sheet with parchment paper or butter it.
Cut the dough log into 1/4-inch-thick slices. Place the slices about 1 inch apart on the prepared baking sheet.
Bake for 20 to 25 minutes, or until the cookies are firm to the touch. Check them frequently after 16 or 17 minutes, poking them in the middle. As soon as they feel firm to the touch, remove them from the oven. You can’t judge by color because they start out black. Let cool on the baking sheet on a wire rack to warm or room temperature. They don’t have to cool completely before you fill them, but you can’t fill them while they are hot.
While the cookies are cooling, make the frosting. Using a stand mixer fitted with the paddle attachment (or a handheld mixer), beat the butter on low speed for about 30 seconds, or until completely smooth and soft. Add the confectioners’ sugar and vanilla and beat until the mixture is perfectly smooth. Add the milk and salt and again beat until smooth. It will look like white spackle and feel about the same—like putty. You can also mix this frosting by hand. Make sure the butter is very soft, and use your hands to mix and knead the confectioners’ sugar into the butter. You should have about 1 cup. (The filling can be stored in an airtight container at room temperature for up to 2 days or in the refrigerator for up to 2 weeks. Bring to room temperature before using.)
Scoop about 1 rounded tablespoon of the filling onto the bottom of 1 cookie. Top with a second cookie, bottom side down, then press the cookies together to spread the filling toward the edges. Repeat until all of the cookies are filled.
THEN EAT!